How to Make a Mini Domino Journal with pages
- May 25, 2021
- 3 min read
Updated: Oct 13, 2021
Combine 2 dominos, some paper and clever assembly techniques and you can make a mini journal to use, share or sell in minutes. This project uses standard size dominoes, but can be scaled up or down to suit your needs. There is a free printable attached for the cover and pages -- so all the measuring is done, if you use standard size playing pieces.
Note: Some of the links below are affiliate links. This means that, at zero cost to you, I will earn an affiliate commission if you click through the link and finalize a purchase. We are Amazon affiliates.
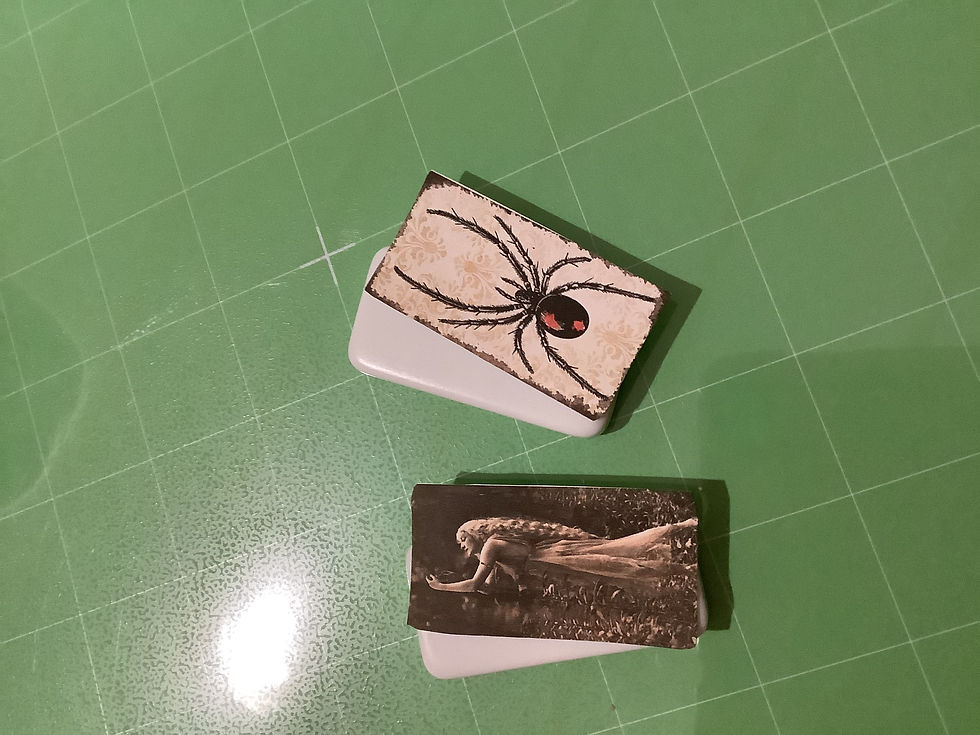
I ended up making several versions using the same technique:


Choosing Dominoes for your Domino Journal
My set was from Dollar General, but Amazon has a pretty big selection of options if you don't have one nearby or don't want to go out. There are 28 dominoes in a set - which means you can make 14 journals or up to 28 pendants from a single box.
These are a heavy, solid plastic -- like a contemporary version of Bakelite. You can also use wood dominos for this project; they will be lighter in weight but will still work. The only type I don't like are the hollow plastic ones -- they are brittle and difficult for paint and glue to adhere to.
How to Make a Book from Dominoes -- Supplies
You do not need a lot of supplies to make this project, making it an ideal beginner junk journal or mixed media project. For each book you want to make, you'll need:
2 dominos
1 sheet of cardstock (to print the images on)
Glue (I used a gluestick, anything that works with paper will work for this)
String or yard, 2 12" lengths
Scissors
Nail file or medium sandpaper
Clamps or clothespins
Domino book printable found below
Domino Book Free Project Download

If you are a subscriber, this file is also in the free members library.
Not a member yet? Sign up here and never miss a freebie again!
How to Make a Journal from Dominos -- Directions
I made a video tutorial for this project; it features the cat and witch design, but the process is the same for the Shabby Chic version as well:
If you prefer to read the steps instead, the full step by step directions are below. This post features pieces from the Something Wicked set, but the technique can be used with any paper.
Free Domino Book Pages and Cover Download
Download the printable ; it is already sized to fit and has two sets of covers and two sets of pages.
Prepare the domino covers: Lightly sand the surface of each domino to make it easy to glue.
Print and cut the book elements: Print the free cover and pages onto cardstock or copy paper. Cut around the edges of each cover and around the outer edges of the long strip of pages.

Glue the Covers: Add one cover element to the flat (non-numbered side) of each domino. Each book will need 2 covers. They can match or they can complement one another. The printed piece will be slightly larger than the domino, this will be trimmed in the next step. Clamp with a clothespin to dry completely.
Sand the covers: Use the sandpaper or nail file to sand the edges; this will make the image look like part of the book. Optional: If you want to seal the cover with a resin or other clear coat, do so now.
Make the pages: Cut a strip of pages from the paper. There are 2 color options, just choose the one you like best. Accordion fold the pages using the shaded lines as a guide.

Add the ties: Add a length of string or yarn to each domino to create the ties. Place the domino image side down. Use glue to adhere the string to the domino. Most sets have a natural groove running halfway across the numbered side of the domino -- lay the string in this groove for a neat, flat look. Let dry.

Glue one end page to the back of each domino, covering the string attachment. Clip to secure until dry. Fold the book up and tie each side to secure In the book shape, open up to decorate and enjoy.

Need help?
Find the video walkthrough for this project here: https://youtu.be/3c7xCp23J50
Find the download used for this project here:
Want more styles? Find other domino book printables here


Love. Thank
LOVE the domino book - great instructions - thank you :)
Can't wait to make this! Thank you!!