New Free Project Series : The 12 Weeks of Christmas
- Samantha McNesby
- Oct 1, 2021
- 3 min read
Updated: Nov 7, 2021
If you want to relax and enjoy the holidays but still have plenty of handcrafted loveliness to enjoy, it’s time to get started! In this new series, we will tackle a different project each week. Complete the project and stash it until you’re ready to use it. By December, you’ll have a go to pile of ornaments, small gifts, tags and more, ready to use and enjoy.

Week 1 features oversized gift tags in 2 different styles, the grungy vintage Santas shown here and the sweet Pink retro set below. They’re made the same way and both free printables are below.
Here are the pink ones, I added a paper bow to these:

These are super easy to make. I left the background white for those with Cricuts or similar cutting machines, just load into DesignSpace and use the print and cut setting.
Christmas Printable Tag Supplies
Cardstock (This 110lb one is my favorite)
Scissors
Tape (pink only)
Bakers Twine in pink, white and red
Pink and red grommets
Crop a Dile or manual setter for grommets
Make the Christmas Printable Tags

Print the tags out onto heavy card stock. I use the 110 pound, which is nice and sturdy, I linked the one I use (and buy by the case!) be,ow, but any matte white card stock will work. Both sets are made the same way, the photos show the pink ones. The pink papers are part of the Pink Christmas Junk Journal series:

Cut around the tag edges. Note the pink tags have a very fine line around the edge to make them easier to see to cut. This is a nice project for a movie or tv session, they don’t require much attention and you can do a nice pile of them in an hour!
Add the grommets

Punch a hole as indicated and add a grommet to each. I use the Crop a Dile, which I resisted biting for literally years. I was also tearing up printed projects at an alarming rate as I can’t seem to get the grommets to set properly manually. If you don’t have this handy tool, ask Santa to bring you one, it has saved much time and frustration!
Here’s the one I use:
Add the Bakers Twine

Loop 2 strands of matching bakers twine through the holes, then trim. My twine is fro. The dollar store, but Amazon has it as well.
Add the Bow

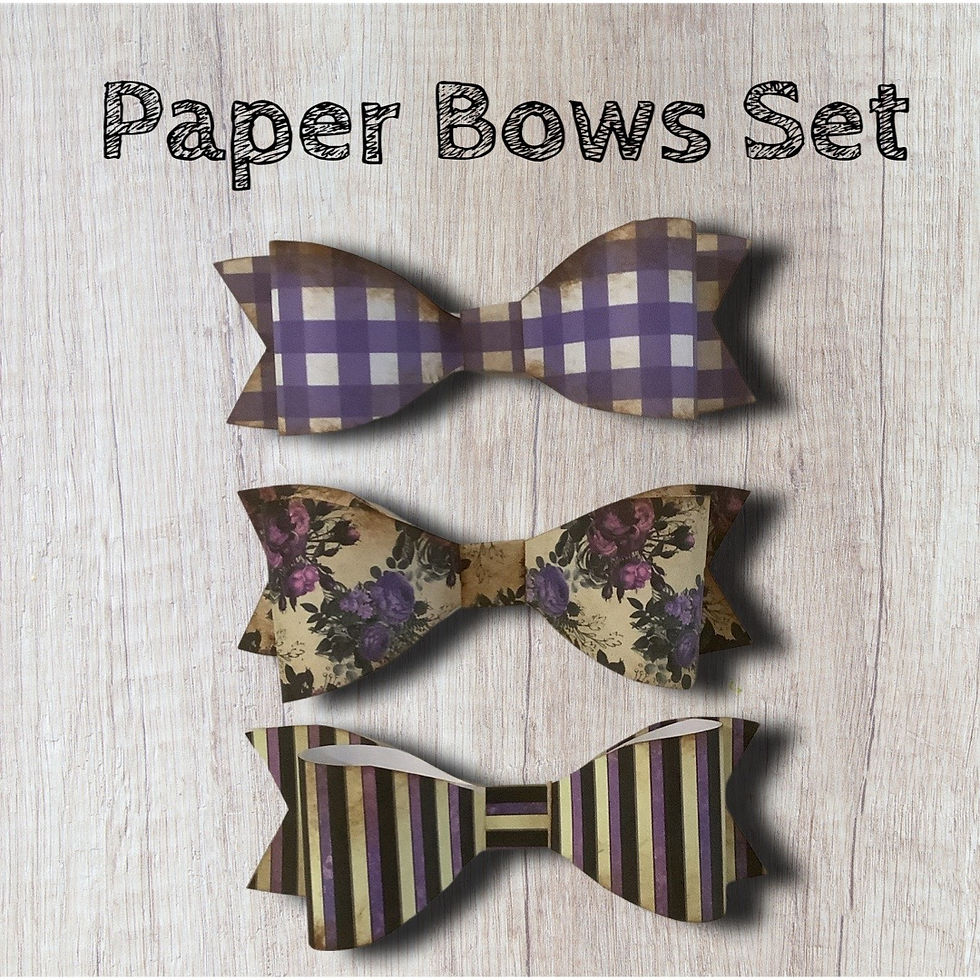
Assemble the bow using the directions found here ( and grab the free bow printable while you’re there). I added it to the bottom of the tag, then decided it looked better on the top, either works, though.
That’s it! Make a bunch and store them until they’re needed, and you’ll have some handmade pretties ready to go at Christmastime.
I‘ve added the free Christmas tags printable to the subscriber library, found here. If you need the password to access this and dozens of other freebies, you can register here.

Look for more of this series in the weeks to come. I ended up with 16 planned projects, so there will be plenty to make and do!
Project Notes:
This is the cardstock I use, but any heavy matte cardstock will work.
You can skip the grommets and just punch a hole (there’s a faux grommet on the printable for this purpose, but handle the tags with care, the paper will tear more easily if you don’t have a grommet.


Your 12 weeks of Christmas sounds like fun, Samanth !
Thank you. :)